Way back in 2006 I had saved some money and splurged on a MacPro tower and a 30″ Cinema display. I lovingly upgraded over the years, including a flashed Radeon HD 4890, until eventually Apple planned the obsolescence of my beloved hardware. The MacPro 1,1 has a 32 bit EFI, so once El Capitan came along OS upgrades were no longer something which came for free. Fortunately, I am not afraid of getting my hands dirty so I was able to muck around with the Clover EFI boot loader and extend the life of my cherished cheesegrater for a few more years.
Eventually, I inherited a Lenovo ThinkServer TS140 which I was able to tinker into a functioning Hackintosh. I found the performance of the new hardware to be so much better, I stopped using the old standby entirely. My MacPro was sidelined, unplugged, tucked away gathering dust in a closet under the stairs.
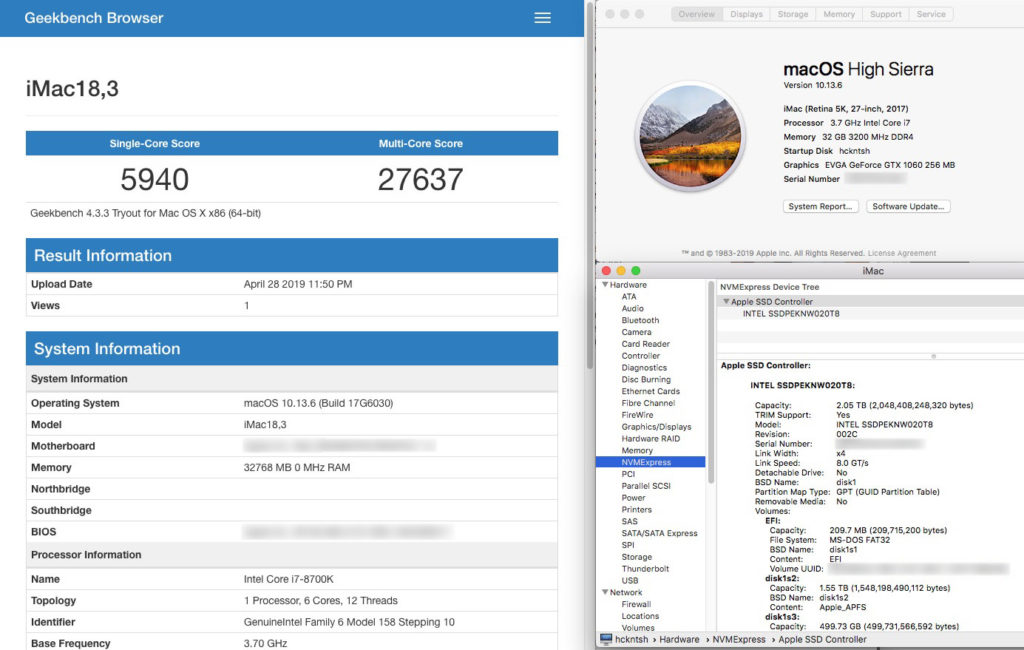
I have held on to that MacPro for several years now, every once and a while rediscovering it while shuffling storage between seasons. Every time I was reminded of its existence, an ember of desire was rekindled to resurrect that case to new glory with modern hardware and an updated OS. Finally, a few weeks ago I decided to use my tax return and make fantasy a reality. Several blood and sweat soaked weekends later, I am currently writing this blog post using the results of my labor:
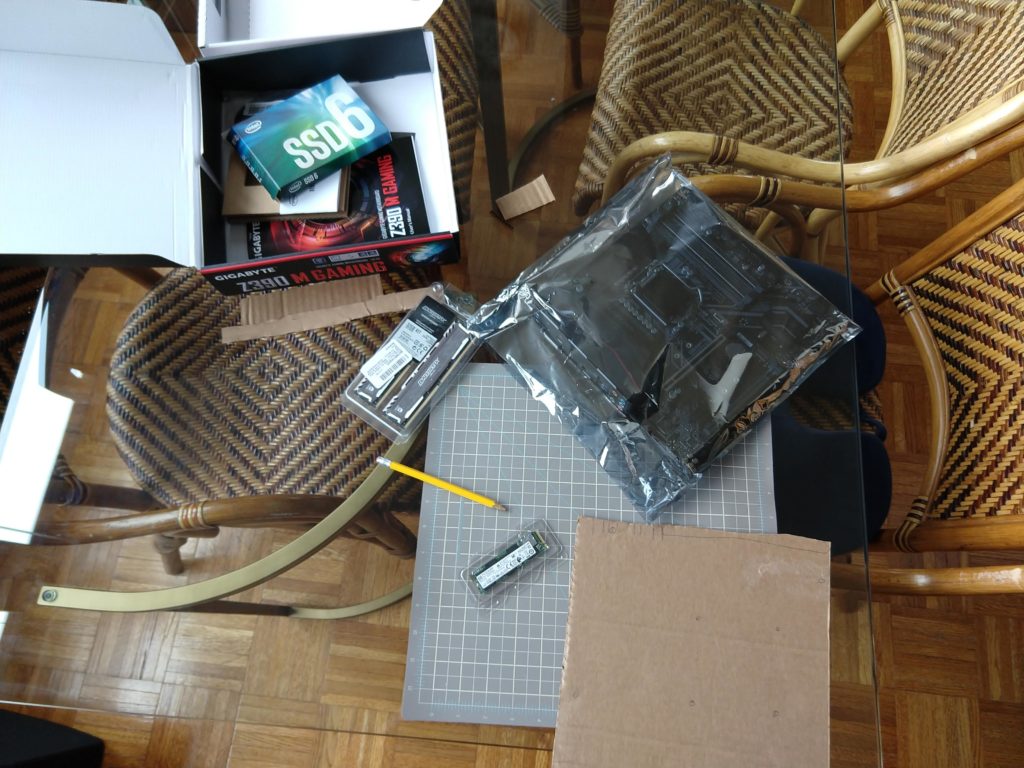
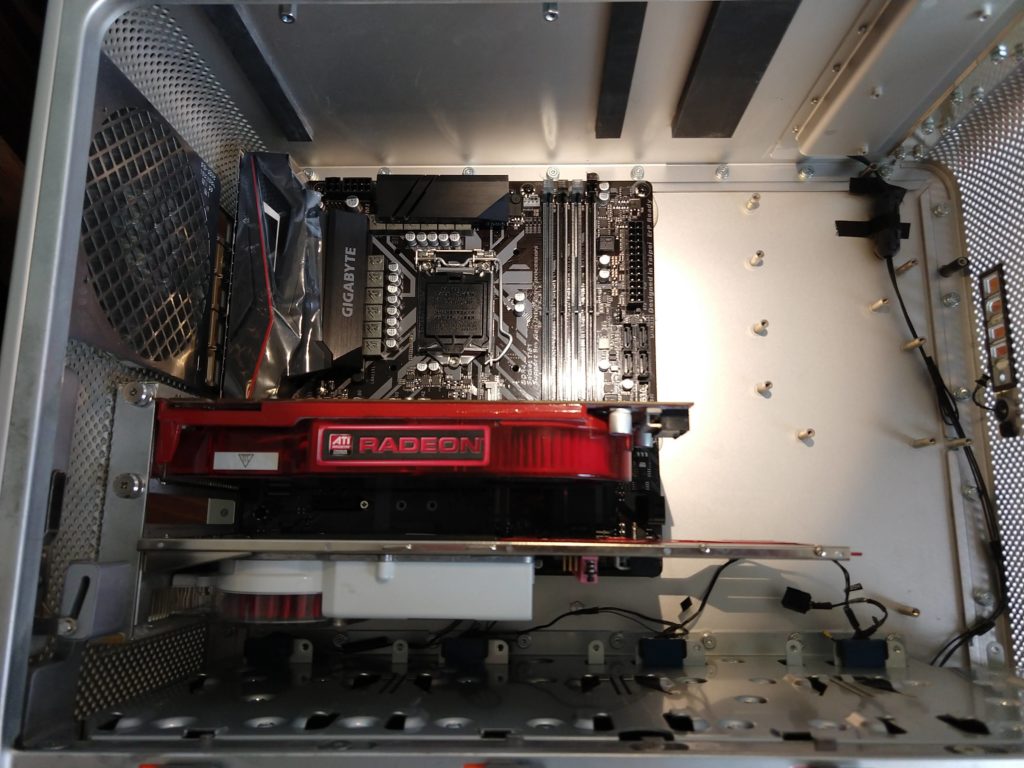
Before knowing how successful my build would be, I did not want to spend too much on the most premium hardware available, so I was fairly conservative. After some initial research, at first I thought I would be able to fit a regular size ATX board (like this fellow), so I ordered a Gigabyte Z390 Designare. I quickly realized that if I wanted to keep the hot-swap SATA slides and lose any hair performing the build, a regular sized ATX board was simply too big. So I ended up with the more modest version in mATX format, the Gigabyte Z390 M Gaming.
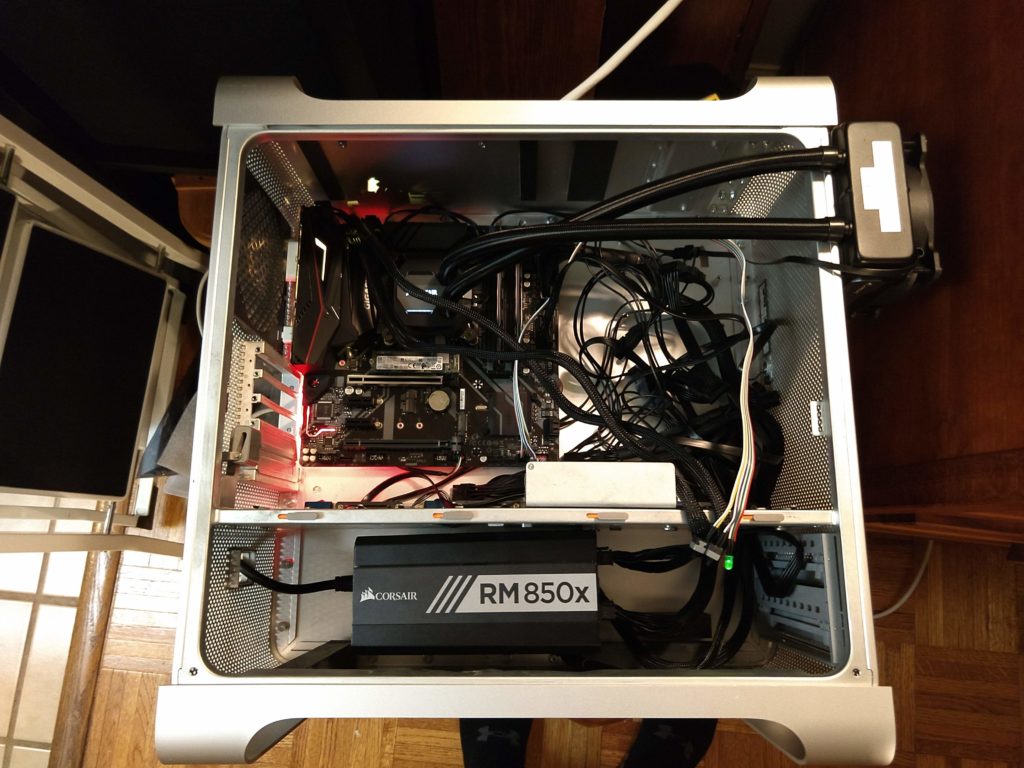
Some of the other core components I already had in the TS140: a Corsair RM850x PSU, an EVGA Geforce GTX 1060, and multiple hard drives with High Sierra already installed. I supplemented my old hardware with some new goodies: an Intel Core i7-8700K processor, 32GB of Ballistix Sport LT DDR4 RAM, an Intel 660p M.2 2280 2TB NVMe, and a Corsair H80i Liquid CPU Cooler just in case I want to over-clock.
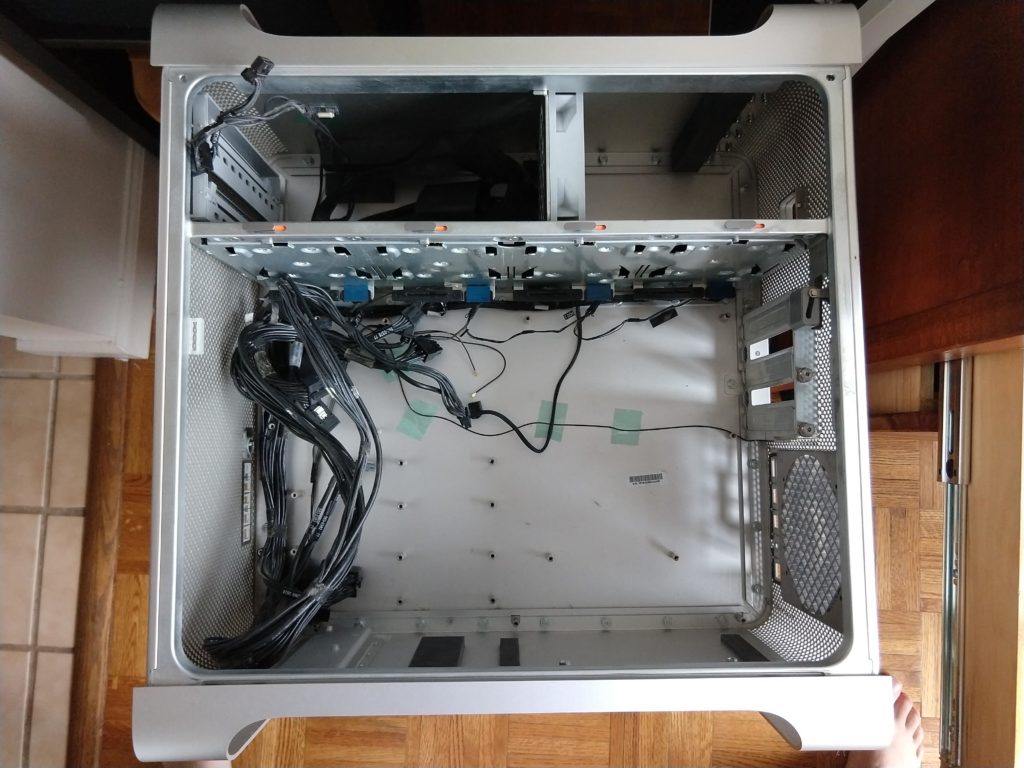
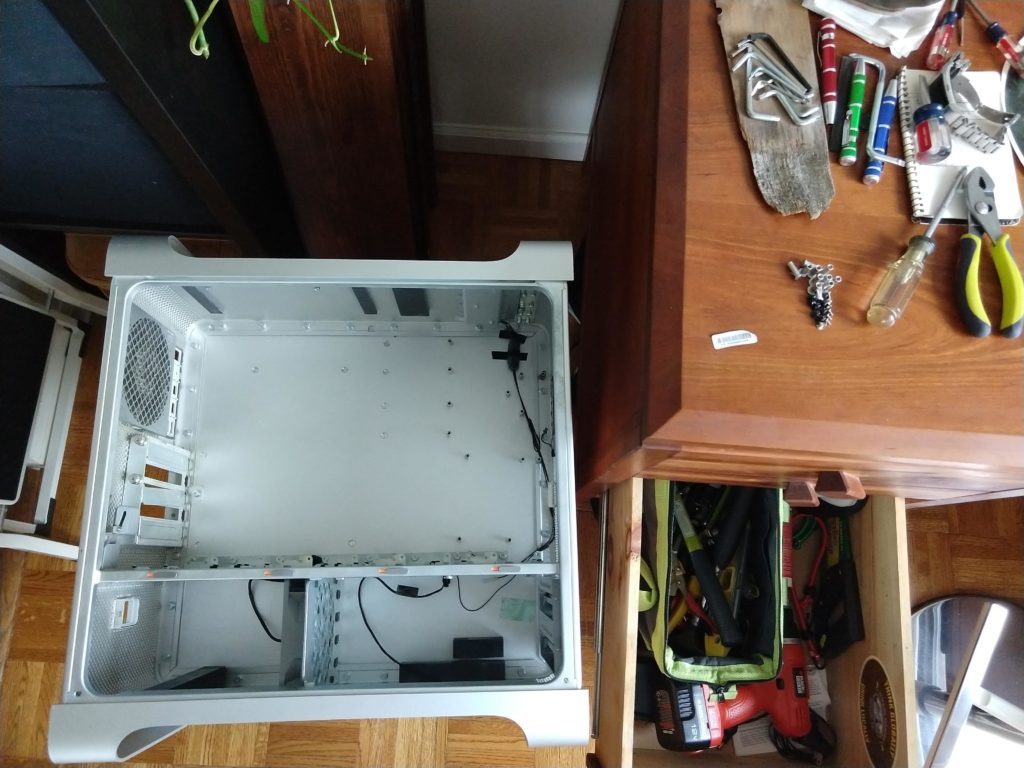
Once I had all the bits and bobs, it was time to start gutting. At first it was really hard to rip out the carefully constructed innards of my precious MacPro, although once I got going it was easy. Once the main components were out, I had a fairly clean slate to work with:
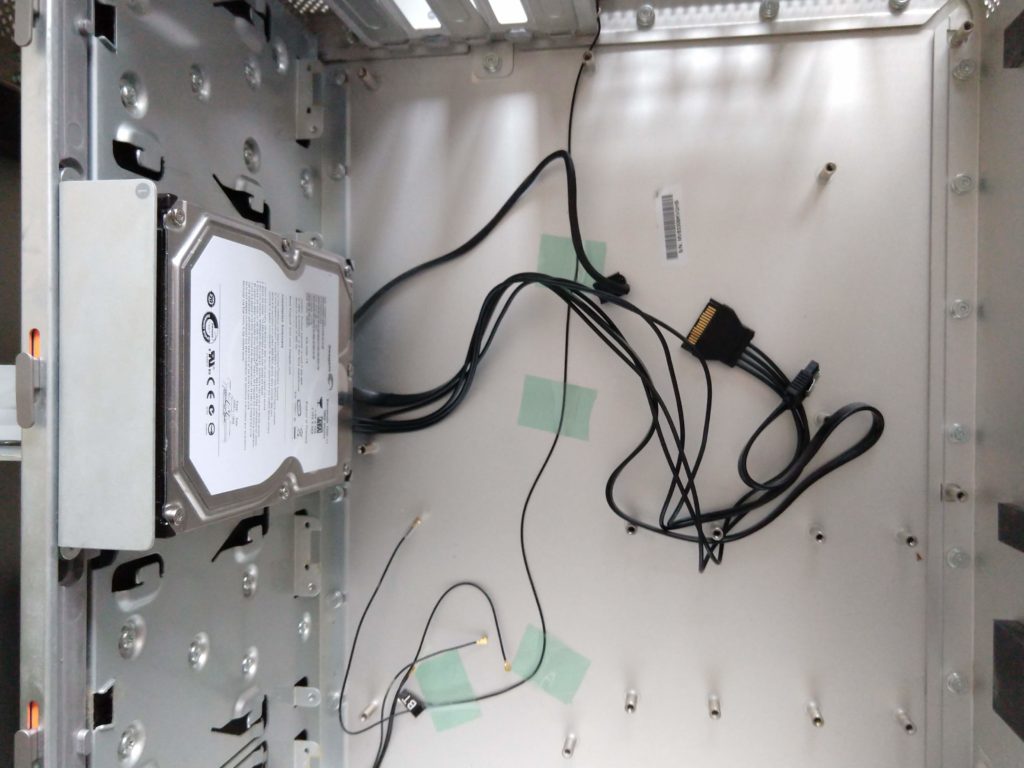
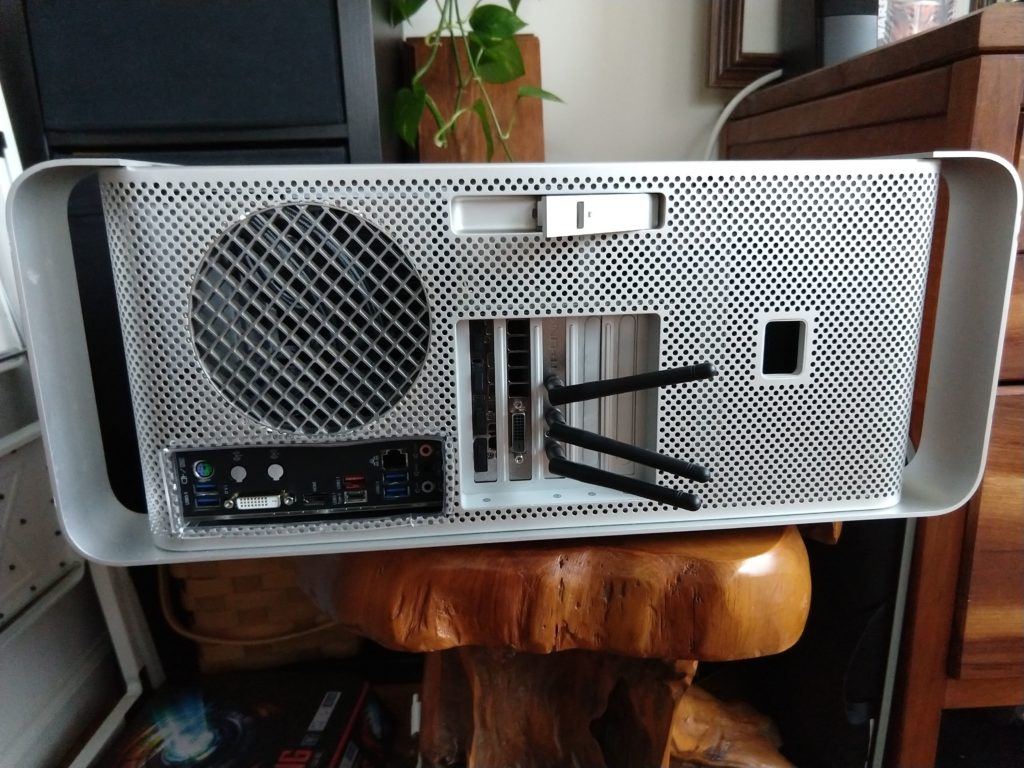
As I said before I really wanted to preserve the hot-swap hard drive sleds, and after some research I decided to order replacements rather than a conversion harness which some folks have used. Corsair has some hot-swap mounts (found at the end of neilhart’s build thread over at tonymacx86) which are almost identical to the originals:
Once I was satisfied everything was going to fit, it was time to unplug the TS140 and strip out the components I would need for my new MacPro 1,1 build. At this point I was committed, pulled the rest of the wires and set to work with the dremel tool.
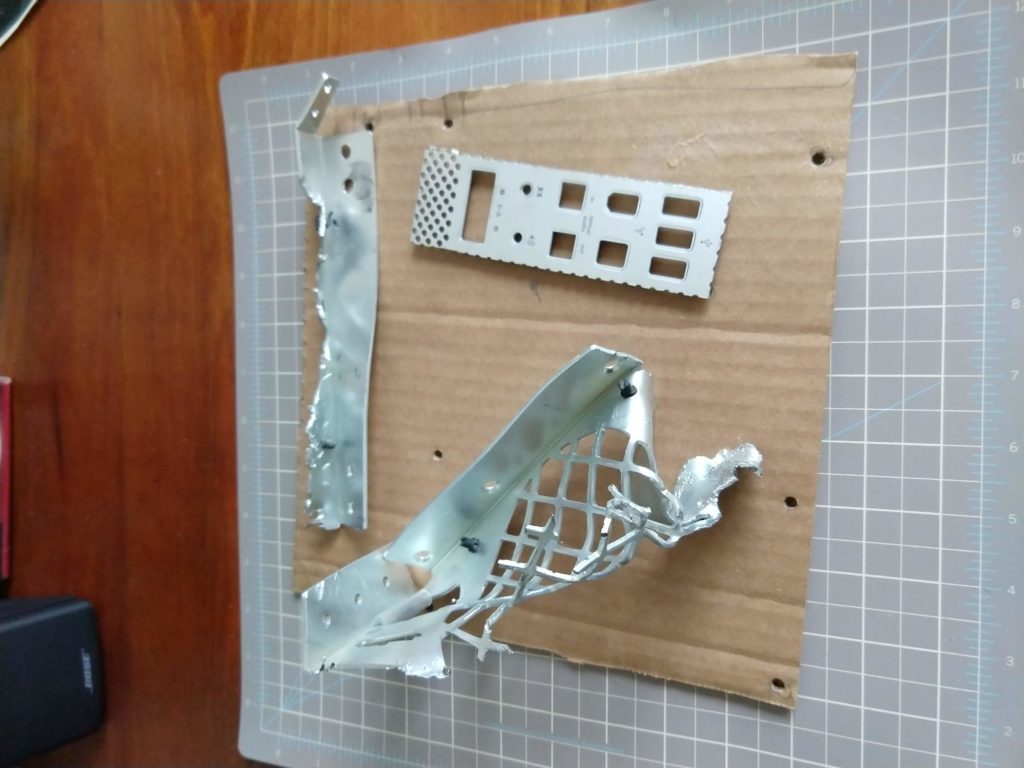
The first physical modifications to the case were to rip out the stand-offs which are under the footprint of the new mATX motherboard, cut them down to 1/2″ and then epoxy back onto the case in the correct placement. I took a lot of time making sure the orientation was correct and used two old graphics cards to make sure it was perfect:
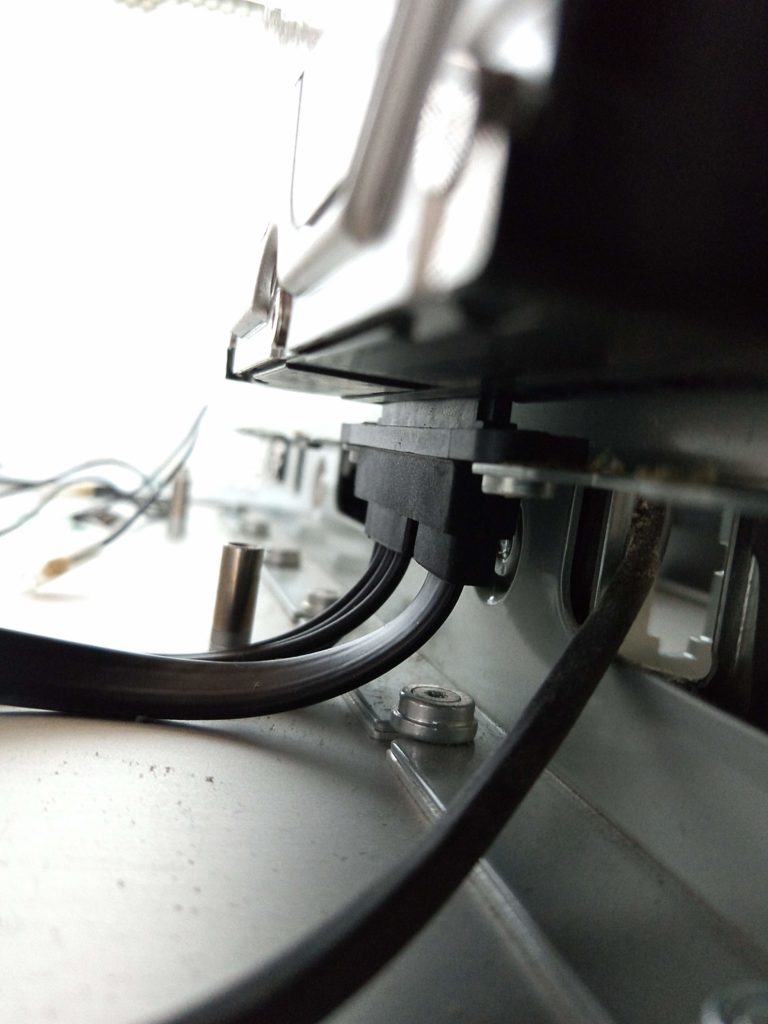
Once the motherboard had a place to live, it was time to get the PSU into place and run some wires. I was not quite prepared to completely tear out the old PSU and replace with the innards from my RM850x (like this fellow), so my only alternative was to tear out the fan and steel separator of the top shelf of my MacPro. What an f’ing pain in the ass that was. Lost a lot of skin on my knuckles and finally after going through about 4 metal cutting dremel disks, I was able to pull it out:
GOT is on now, so I will have to continue this later with explanations of the images below…
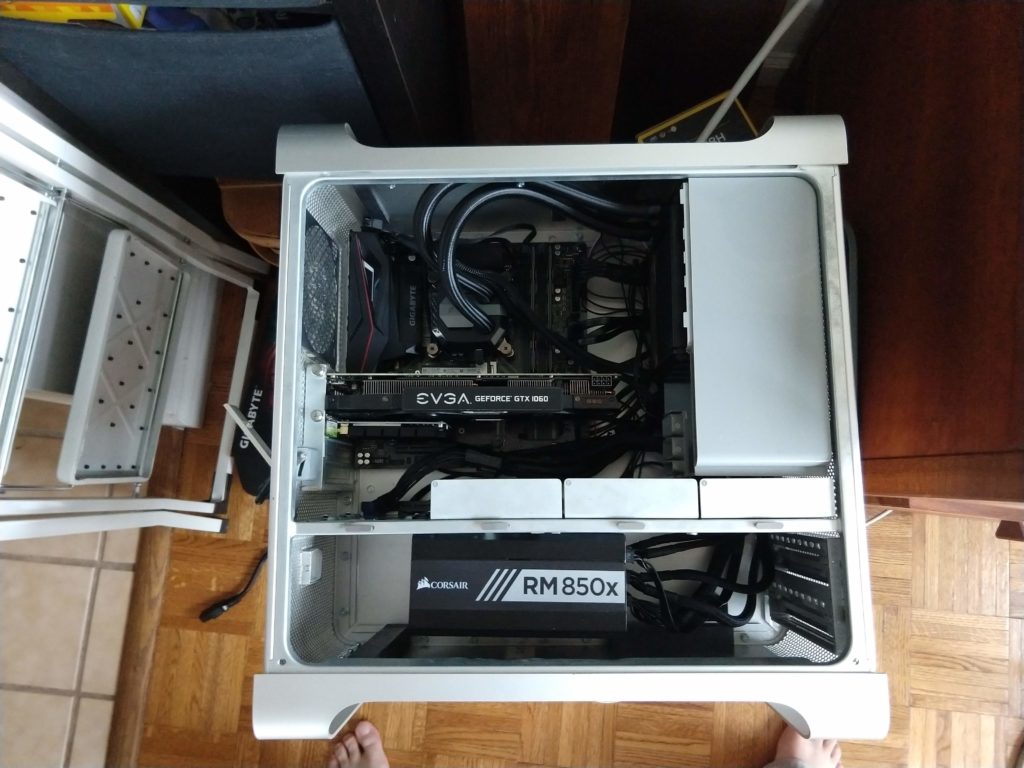

Success!
Fantastic!! Great story and photos. Congratulations on a job well done. Remember every computer company stayed with a first one!! Hope this brings you great joy. Thanks for sharing
Bob
This is fantastic! Love the cherry desk – the figuring on the drawers really brings the room together 😉
helloo sirr
omg its look amazing macpro sir
-setiawan